So you have written the uber-pro-web-application with a bazillion of active users. But your requests start to get out of hand and the Raspberry Pi under your desk can’t handle all the pressure on its own. Finally, the time for rapid expansion has come!
If you have already containerized your application, the step towards clustering your software isn’t that hard. In this post, we want to shed some light on management tools you can use to handle a cluster of Docker nodes.
First let’s get a short overview of what we really need in order to come up with a resilient and fault tolerant cluster:
- We want to be able to quickly add additional Docker hosts on high traffic
- These hosts should run on all kinds of machines from physical ones, to virtual machines, or even on cloud platforms like AWS.
- If our traffic reduces (which is very unlikely), we want to remove idle hosts
- And of course, we don’t want to get our hands dirty. So everything should be automated as much as possible.
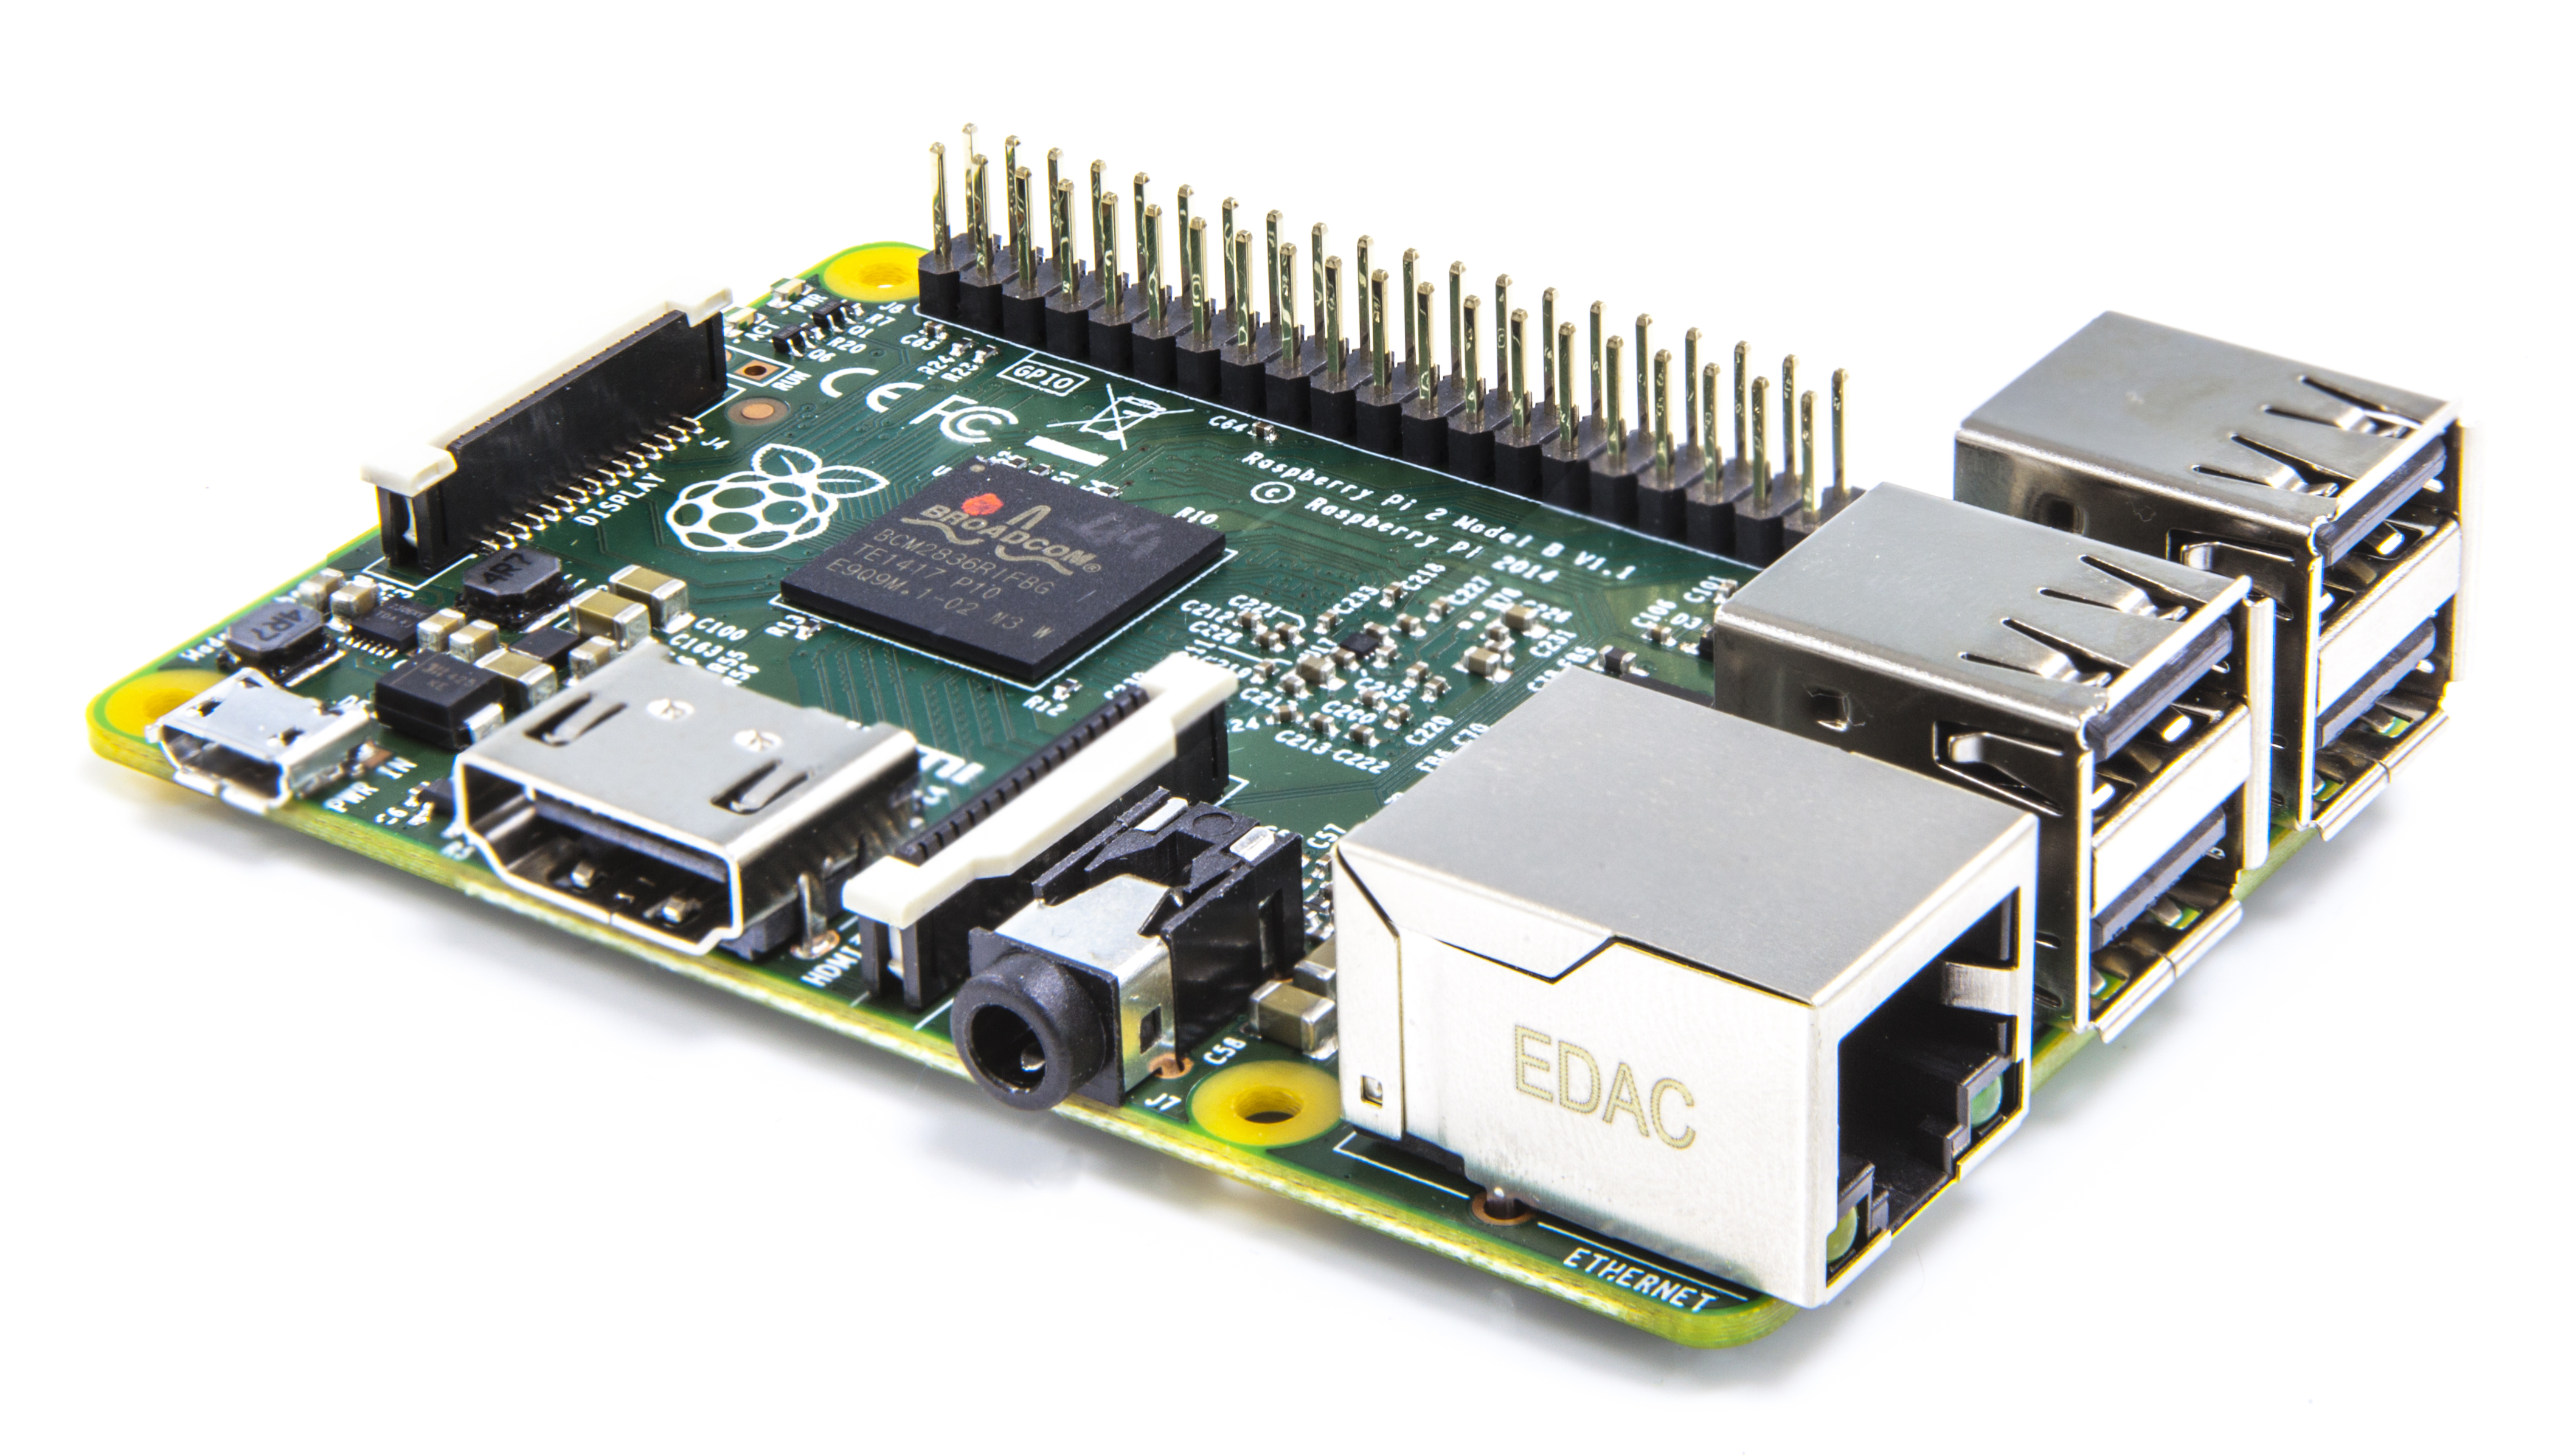
So lets start. First you should buy some Raspberry Pies, like we did (we actually bought seven of them). Then, we must find a way to set up all of these machines with as little manual effort as possible. This is were Docker Machine comes into play.
Note: The following examples build upon each other. So if you want to set up your hosts, read all the sections but wait with the execution of the commands until you’ve read the whole story 😉
Docker Machine
Docker Machine allows you to install and manage the Docker engine on remote hosts. Perfect for managing several cluster nodes from your PC.
An important component of Docker Machine are the machine drivers. They enables us to pass target host specific information to Docker Machine, such as the IP of the machine, or login credentials.
If for example we want to create a Docker node in the Amazon cloud, we launch this command:
$ docker-machine create --driver amazonec2 --amazonec2-access-key AKI******* --amazonec2-secret-key ******* aws-testmachine
Docker Machine creates a node called “aws-testmachine” using your Amazon-account.
If you now want to run a container with your application on this host, it could look a bit like this. First you get the environment from your new cloud machine to your local machine, then you run a container with your application on the remote host.
# get the remote environment
$ docker-machine env aws-testmachine
$ eval "$(docker-machine env aws-testmachine)"

# run a container of uber-pro-application named "testapplication"
$ docker run -d -p 80:80 --name testapplication your/uber-pro-application
And there you have it! A machine host, automatically installed on a remote server running your application.
To be honest, a real world deployment would include a few more steps, but the idea stays the same. Docker is also providing some very good examples if you want to take a closer look on Docker Machine.
Now we have transformed our Pies in Docker hosts and we can run containers on them. But still a lot of manual work is needed to get everything up and running. With Docker Swarm we can reduce the manual overhead drastically.
Docker Swarm
Docker Swarm is basically a clustering solution for Docker. It allows us to view all of our Docker hosts as one virtual host. If you deploy a container in the swarm cluster, it gets either started on any host available, or on one with less work to do than all the others (a better description for the scheduling-algorithm can be found here).
A Swarm is always managed by a Swarm master (or several for redundancy). It can be set up by using this command:
$ docker-machine create -d hypriot --swarm --swarm-master --swarm-discovery token:1234 --hypriot-ip-address <SWARM_MASTER_IP> <SWARM_MASTER_HOSTNAME>
This creates us a Swarm Master on the given host (swarm-master-ip/hostname). The Swarm is later identified by its Cluster-ID (swarm-discovery-token). It can either be entered directly, or read from an environment variable.
Because we used Hypriot on our Pies, we have to use the Hypriot-driver with its specific IP-parameter.
With the Swarm Master set up, we can now start adding our Pies to the Cluster:
$ docker-machine create -d hypriot --swarm --swarm-discovery token:1234 --hypriot-ip-address <SWARM_NODE_IP> <SWARM_NODE_HOSTNAME>
This creates a new Docker host and joins it to the provided Swarm (swarm-discovery-token).
Given that everything worked fine, you now have a entirely functional Docker cluster. We can now start containers on any node and even do a little load balancing. But this still requires a lot of command line fiddling. Our next goal is to get a nice user interface up and running.
Shipyard
The one we have picked is Shipyard. It is one of many Docker management tools, but it has some cool features we came to like.
- Even for those who like the good old command line, a web GUI seemed slightly more comfortable to us.
- It builds upon the Docker Swarm API. So it is 100% compatible with any default Docker Swarm installation. If you get tired of shipyard, you can replace it with any other management tool without touching your cluster.
- Shipyard is completely composable. Each component runs in its own Docker container and some of them can even be replaced with alternatives. Perfect for our needs.
- Shipyard offers some basic user management and role-based-authentication, so if you do have some spare processor capacity, you can allow someone else to use your cluster to do some important calculating stuff (bitcoin-mining seems interesting).
For the setup of shipyard, we’ve followed this instruction. However, if you do your deployment, we strongly recommend to use the automated deployment script for the cluster manager, because some instructions were some kind of misleading. We have printed all the fixed commands in this post.
The automated script for the cluster nodes cannot be used because of processor architecture conflicts (the script always tries to install x86-software).
And since we were too lazy to copy-paste the “docker run”- command before each line, we will leave this task to you. Simply post the following before each of the next commands.
$ docker run -ti -d --restart=always ...
First of all, lets set up the cluster manager.
Cluster-Manager
The job of our shipyard cluster manager is to provide a swarm master, a service discovery functionality for the entire cluster, and a management GUI with its own backend.
For our software choices, we have sticked with the official instructions and pretty much copied all the commands. We are using etcd, a product of the CoreOS-team, as service discovery and RethinkDB as backend for Shipyard.
# install the Shipyard backend
$ --name shipyard-rethinkdb shipyard/rethinkdb:latest

# install the service discovery and expose the necessary ports
$ --name shipyard-discovery -p 4001:4001 -p 7001:7001 microbox/etcd:latest -name discovery

# make our docker engine available via network
$ --name shipyard-proxy-p 2375:2375 --hostname=$HOSTNAME -v /var/run/docker.sock:/var/run/docker.sock -e PORT=2375 shipyard/docker-proxy:latest

# configure this node to be the swarm manager
$ --name shipyard-swarm-manager swarm:latest manage --host tcp://0.0.0.0:3375 etcd://<Cluster_Master_IP>:4001

# install the Shipyard controller and link it to all its components
$ --name shipyard-controller --link shipyard-rethinkdb:rethinkdb --link shipyard-swarm-manager:swarm -p 80:8080 shipyard/shipyard:latest server -d tcp://swarm:3375
Cluster-Node
The setup of the cluster nodes was a bit tricky. So we will provide you with some solutions for pitfalls we ran into:
- If you haven’t configured the Docker engine to be reachable via network (like we did), you have to also run a Docker-proxy on each node (took us 3 hours to figure it out, even it was pretty obvious). Make sure to use an ARM-compatible image for the proxy.
- The naming of the different IP-addresses in the official instructions was very vague, so here we tried to make it a little more obvious for you. We extracted pretty much any information from the deployment scripts. We used the Hypriot Swarm image for compatibility reasons.
# make our docker engine available via network
$ --name shipyard-proxy -p 2375:2375 --hostname=$HOSTNAME -v /var/run/docker.sock:/var/run/docker.sock -e PORT=2375 janeczku/docker-proxy-armv7:latest

# install the swarm agent and connect it to the service discovery
$ --name shipyard-swarm-agent hypriot/rpi-swarm:latest j --addr <CLUSTER_NODE_IP>:2375 etcd://<ClUSTER_MASTER_IP>:4001
And that’s it! If you execute this two commands on each node, you should get a nice cluster with the combined computing power of possibly hundreds of Pies. We tried it with six and it worked brilliantly.
If you apply this examples to your infrastructure, nothing should get in your way to world domination now. If you do, leave a comment down below with your experiences.
Further Reading
Image-Sources
- https://commons.wikimedia.org/wiki/File:Raspberry_PI.jpeg, Author: Onepiece84
Leave a Reply
You must be logged in to post a comment.