Kchhhhhh, Kchhhhhh, Kchhhhhhh…
– Ernie on companies without CI
 Hello internet and welcome to the last part of our tutorial series about Continuous Integration, Code Deployment and Automated Testing with Jenkins. If you arrived at this post and have read all the others we are very proud of you, hope you enjoyed the journey and learned something along the way. In this post we are going to discuss and wrap up everything we talked about so far and present an alternative to Jenkins.
What we’ve seen so far
Up to this point we tried to demystify several buzzwords of the software developer community like Continuous Integration (CI), Continuous Deployment (CD) and Test Automation. CI describes the act of assembling different pieces of code as early and as often as possible. CD means shipping said code to a production environment. We wanted to put certain standards of the industry in context of university projects and furthermore evaluate, whether it makes sense to use tools like Jenkins for non-professional small projects.
In our blog series we got ourselves a machine via AWS and installed Jenkins. We want to stress that in this step the security of your Amazon instance and Jenkins are very important. Make sure you have a valid user administration and don’t panic if you lock yourself out of your own system. After talking about the concepts of deployment and branching we configured a few jobs in Jenkins in order to put our code on the machine. Having numerous jobs fail before it actually does what it is supposed to is quite normal and should not bother you. In the previous post we illustrated the importance of testing in order to assure quality and showed you how to set up an exemplary test job.
Jenkins: Heaven and Hell
By using Jenkins for your Deployment Pipeline you ensure that you are always master of the situation (as long as you have a deeper understanding of what you are exactly doing). One cannot deny, that you have to put a lot of effort in setting up your pipeline at first, but the good thing is that you can use your setup for a variety of projects and learn a lot in the process. Is Jenkins a bit over the top for a small academic project? Probably, especially if you do not need to have your code run in a real environment. But even if you just need to deploy your code once every two weeks, thinking about an automated deployment process is worth the effort in our opinion.
Additionally your professional skills will profit from knowing a thing or two about CI / CD concepts or Jenkins in particular, since it is more or less as famous and popular in the developer community as the Backstreet Boys in the late 90s were amongst teenagers. The functionality of Jenkins can be expanded by a variety of plug-ins and thus can cover almost any needs – but you have to host it by yourself. If you need to have full control over your environments and deployment process, Jenkins is the tool for you. On the downside the user interface of Jenkins is neither beautiful nor functional.
All in all it’s worth it, if you regularly need to deliver a product, because the process of the deployment is greatly simplified and so is quality assurance. Once you have put in the initial effort and got to know Jenkins a little bit, it is a great tool to have.
An alternative to Jenkins: Travis CI
After evaluating the pros and cons of Jenkins we want to show you a slick alternative: Travis CI, which is by default a Software as a Service (SaaS) solution for building applications. Like all SaaS solutions, it tries to hide the complexity from the user and does its best to deliver as much as possible out of the box. As you can imagine, this is especially useful for smaller student projects, because the initial necessary knowledge and effort are reduced to a minimum. The downside is giving the responsibility to a tool you might not fully understand. You do not have as much control and flexibility as you would have when using Jenkins. If you want to create a simple pipeline within 30 minutes, Travis is the right solution for you. You can find a list of the supported languages here.
If you just need a quick tool to build your application Travis CI offers everything you need plus the possibility to deploy your code by connecting it with a deploy service of your choice. See a list of supported cloud hosting services here. If this is not enough you can use a simple ftp-connection as well for deployment. However, the use of Travis CI assumes a premise: Using git as your version control tool. Attention: It is not configurable with other version control tools!
Since a lot of you guys will be using git in combination with Github anyway, this disadvantage should be of low significance. Travis CI offers a cool-looking User Interface in combination with a lot of functionality. It addresses almost every common task a developer needs to solve for automated builds and deployment.
Seting up a Build with Travis CI
We are going to connect our Laravel project with Travis CI. In order to do this we need to put a configuration file (.travis.yml) in the root folder of our application containing the following information:
language: php
php:
  - '5.6'
  - '7.0'
  - hhvm


# Commands to be run before your environment runs.
before_script:
  - composer self-update
  - composer install --prefer-source --no-interaction --dev

# Commands you want to run that will verify your build.
script: phpunit
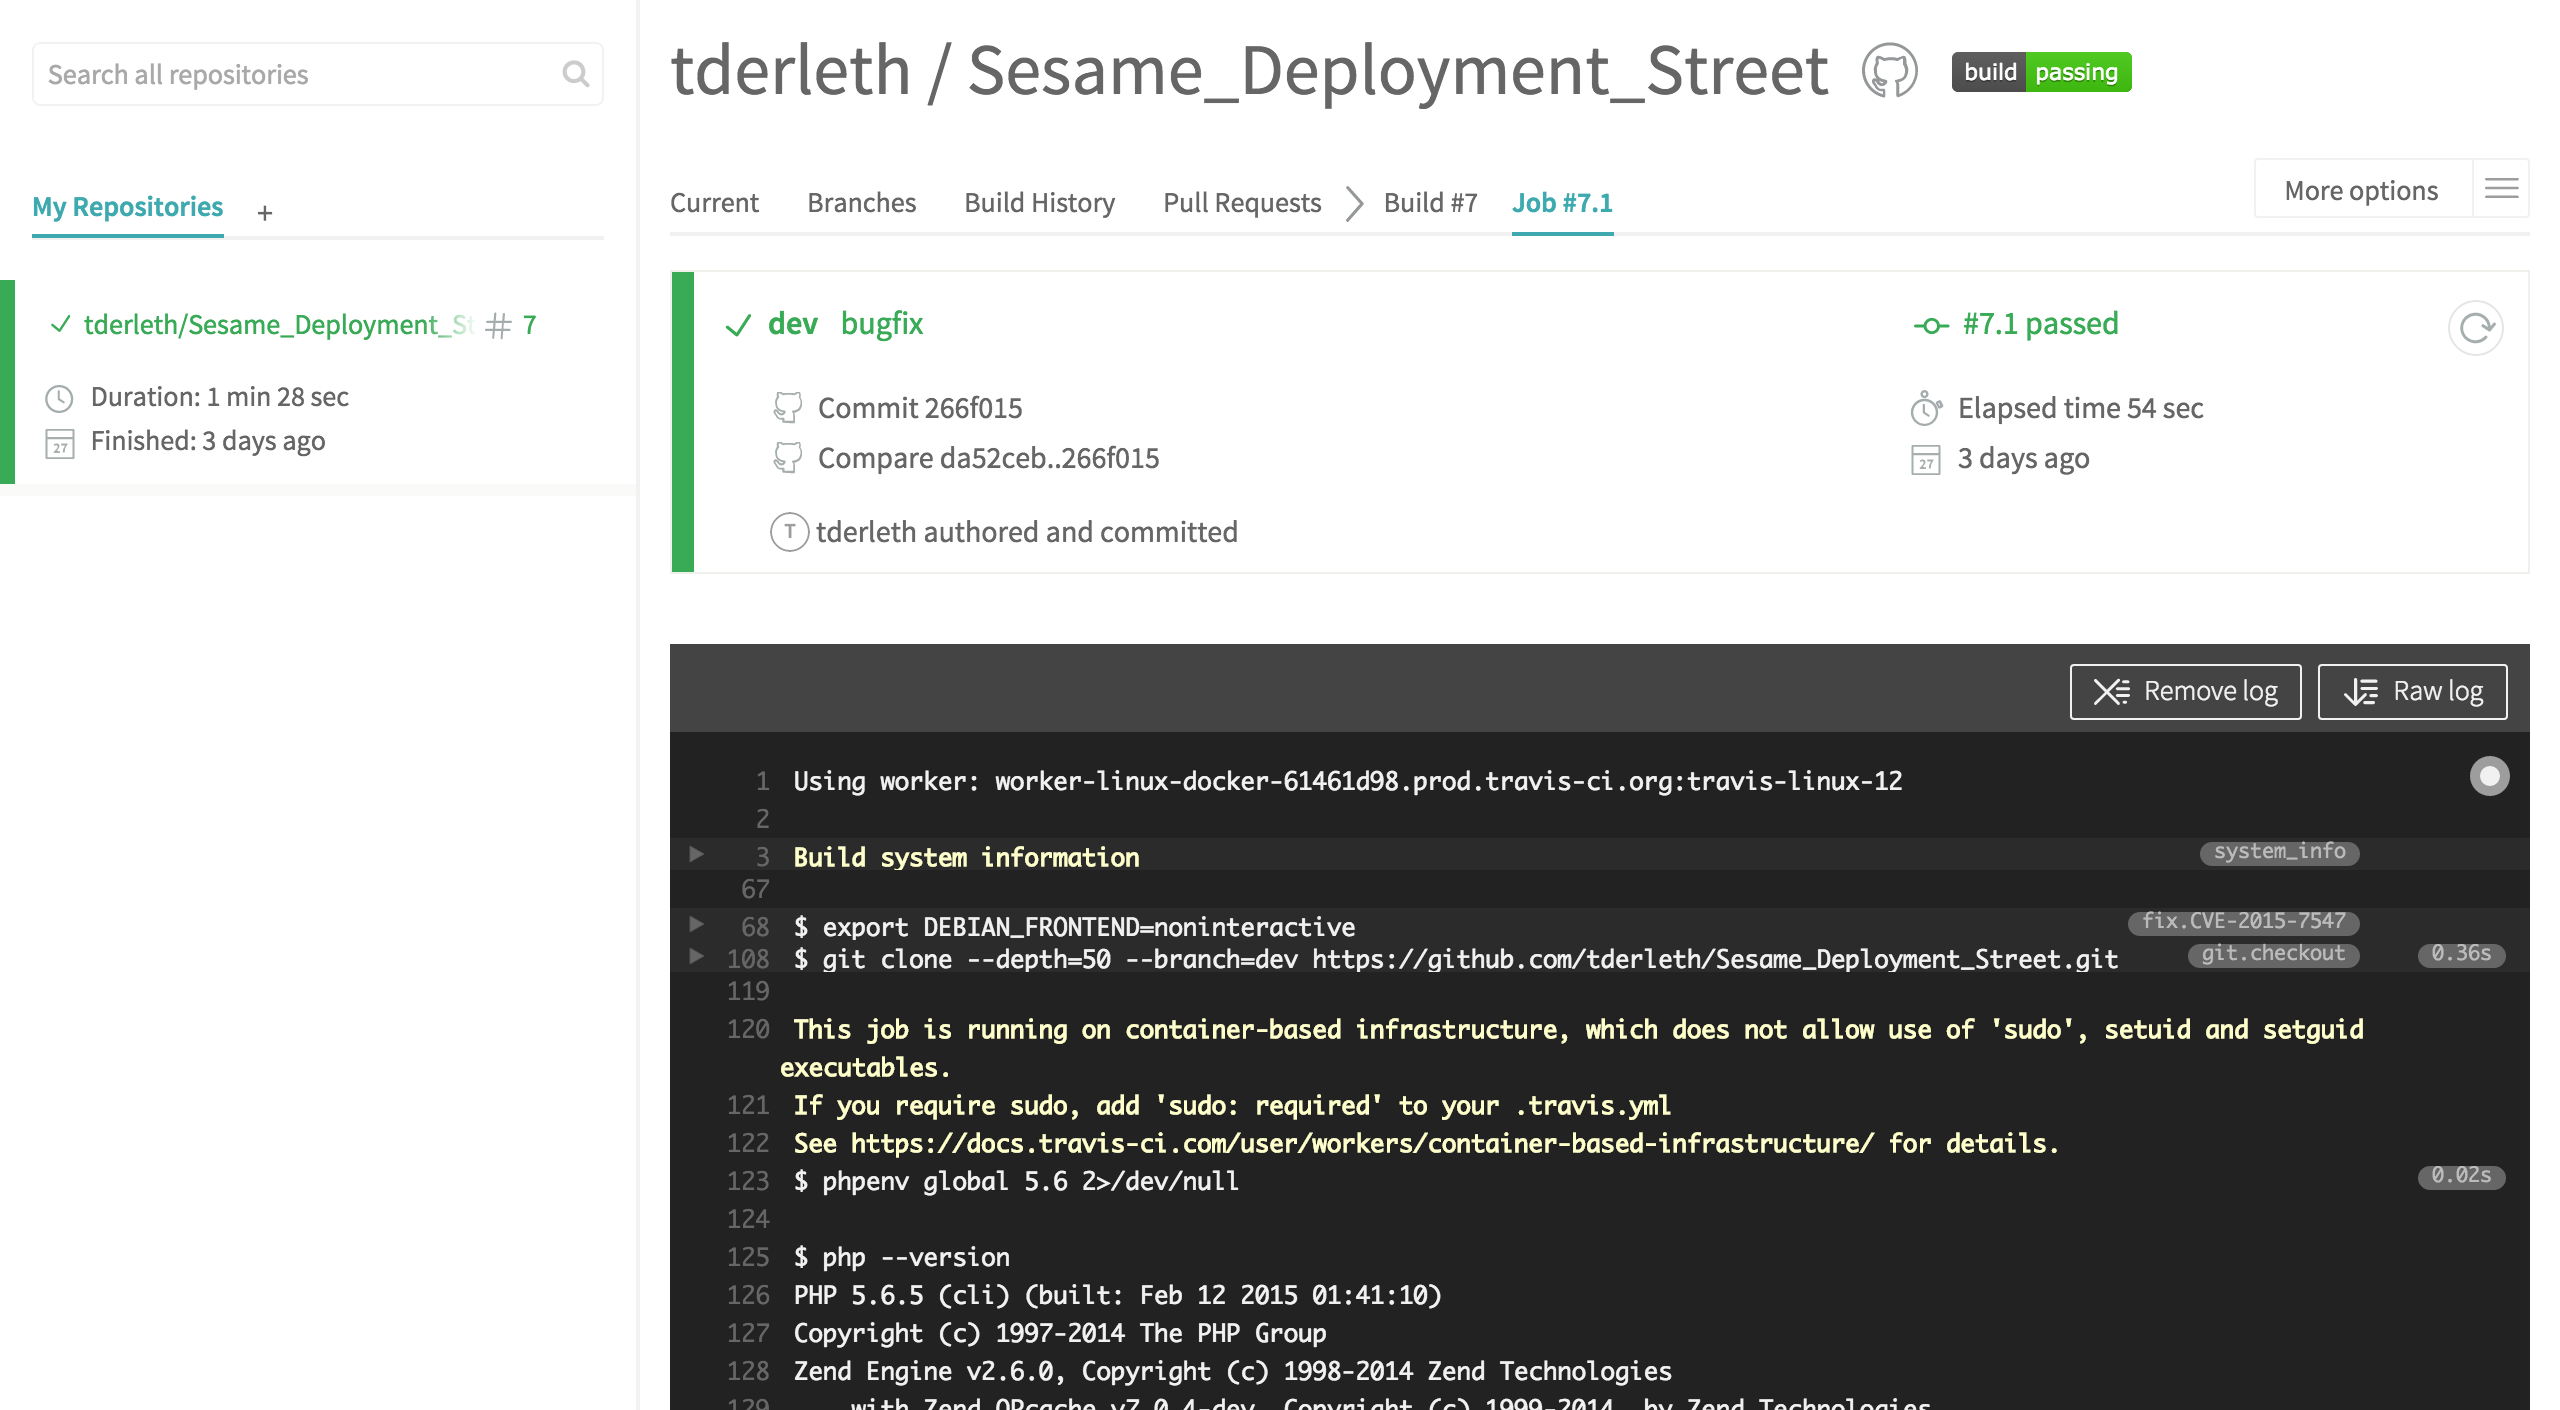
What we are doing here is to tell our application that it should be build in different environments. We want to test it for PHP version “5.6”, “7.0” and on “HHVM”, an open source virtual machine. Before we run our tests, we need to grab our dependencies with composer. By committing this configuration file and pushing it to Github, Travis CI automatically gets triggered to run the build job and execute the PHPUnit tests after the environment is up and running. You get an email every build by Travis containing the contributor, the state of the build and the ID of the commit. You can see the output of the console within the Travis application (see picture below).
When to use what?
If you want to simply build your application and deploy it in combination with a common cloud service, Travis CI is for you. During our research for the blog series we were amazed on how easy and quick it is to use. We literally were not used to get something done on the first try after numerous hours with Jenkins. But if you are a prospective system administrator, you will not get around of having at least basic knowledge regarding Jenkins, since you sometimes rely on having full control over your deployment process.
Au revoir, loyal fellows.
This is the end of our 5-part blog series on CI. We hope that we delivered a valuable guide on how to enter the world of CI and how to benefit from all its advantages. If you have any further questions, please contact us in the comment section and we will try to help you – even if it’s unrelated stuff! This is it – Jenkbird over and out.
Blogpost by Thomas Derleth (td036), Jörg Einfeldt (je051), Marc Stauffer (ms445)
Leave a Reply
You must be logged in to post a comment.