In this article, I will show you how to setup your own Google Home on your Raspberry Pi or any other Linux computer.
Further, I will teach you how can create own triggers and hotwords for your assistant.
Hardware
Before we start, make sure you have connected a microphone and speakers to your device. A regular USB webcam will also do the trick.
To check if the devices are actually connected we use the command:
arecord -l
to check the microphone and
aplay -l
for the speakers.
At this point, it is important that you remember the card number and device number of the microphone and speaker you have chosen to use.
This gained numbers we now have to write in our configuration file under ~/.asoundrc:
pcm.!default {
    type asym
    playback.pcm {
        type plug
        slave.pcm "hw:1,0"
    }
    capture.pcm {
        type plug
        slave.pcm "hw:0,0"
    }
}
Where the two numbers after hw: are the card number followed by the device number and should be replaced by your own values
More information about the ALSA sound configuration can be found here
Now you should be able to record sound with:
rec test.wav
and hear your own voice with:
play test.wav
Google Assistant
Google API Registration
First, if you don’t have a Google account already, create one. After you are logged in to the google developer console, create a new project. Now we have to enable the Assistant API. Next, to create our OAuth ClientID we have to go here. Select “Other” and when you finished download the json file, you can transfer it to your Raspberry Pi with:
scp ~/Downloads/client_secret_client-id.json pi@raspberry-pi-ip-address:/home/pi/
Install Google Assistant Library
To download and install the libarary in a python3 enviroment we use the folling script:
sudo apt-get update
sudo apt-get install python3-dev python3-venv
python3 -m venv env
env/bin/python -m pip install --upgrade pip setuptools
source env/bin/activate
python -m pip install --upgrade google-assistant-library
python -m pip install --upgrade google-auth-oauthlib[tool]
python -m pip install --upgrade google-assistant-sdk[samples]
Authentification with google cloud
Before we can use the assistant we first have to authorize our application. To do this we call:
google-oauthlib-tool --client-secrets /path/to/client_secret_client-id.json --scope https://www.googleapis.com/auth/assistant-sdk-prototype --save --headless
We will receive a code on a website that we have to enter in the terminal.
Run the sample
Once you authorized your application, you can now run the sample from google.
google-assistant-demo
You now have built a regular google home and can trigger your running assistant with “OK, Google” or “Hey, Google”.
Custom Trigger
Since we are building our Google Home on our own, we are open to customization. So we will create our own Trigger. While others use a button to trigger there Assistant, I still want to use voice. I just wasn’t so happy with the hotword, so I replaced it with something more sympathetic to me: “Samantha”, but you can choose anything you like.
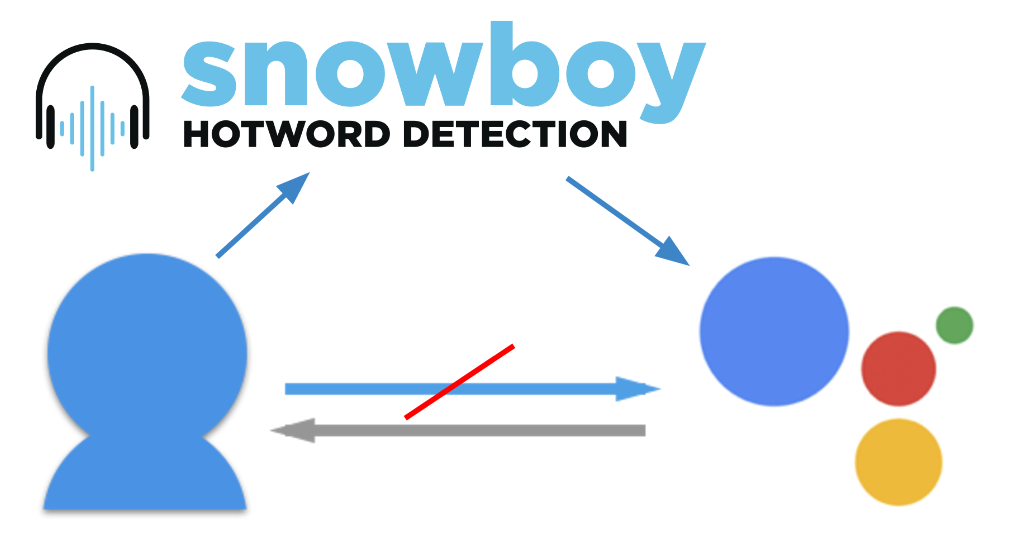
Snowboy

To create our own personal trained model for hotword detection we use the Snowboy Engine
Create Hotword
Once you are logged in you have the option to choose a existing hotword or create your own.
In any case, you will receive the model as the file to download. After downloading you also need to transfer this file to your Raspberry Pi.
Python3 Support
Unfortunately, Snowboy just delivers executable binaries for Python 2. To work with our Python 3 Google Assistant Library we need to build the binary on our own. To do this we first clone the Snowboy GitHub repository:
git clone https://github.com/Kitt-AI/snowboy.git
First, we have to make the snowboydetect.py file with swig in the directory /swig/python3/
make
You need to have swig v3.0.10 or higher – if you are stuck read the comments of the Makefile
After successful build you should be able to run the Snowboy sample under examples/Python3/ with:
python demo.py your-trained-model.pmdl
Trigger Google Assistant with Snowboy
The Last step is to connect Snowboy with the Google Assistant. That means when Snowboy detects your hotword, it will activate the Google Assistant, so he starts listening immediately. You don’t need to say “OK, Google” anymore.
First, we change the snowboy demo.py file to call the google library:
import snowboydecoder
import sys
import signal
from googlesamples.assistant.grpc.pushtotalk import main
interrupted = False

def signal_handler(signal, frame):
    global interrupted
    interrupted = True

def interrupt_callback():
    global interrupted
    return interrupted

model = "your-trained-model.pmdl"

# capture SIGINT signal, e.g., Ctrl+C
signal.signal(signal.SIGINT, signal_handler)

detector = snowboydecoder.HotwordDetector(model, sensitivity=0.5)
print('Listening... Press Ctrl+C to exit')

detector.start(detected_callback=main,
               interrupt_check=interrupt_callback,
               sleep_time=0.03)

detector.terminate()
After that, we modify the google library file at the end in you python environment under /env/lib/python3.5/site-packages/googlesamples/assistant/grpc/pushtotalk.py and replace following code at the end of the file
wait_for_user_trigger = not once
while True:
    if wait_for_user_trigger:
        click.pause(info='Press Enter to send a new request...')
    continue_conversation = assistant.converse()
with
wait_for_user_trigger = once
while True:
    if wait_for_user_trigger:
        return
    continue_conversation = assistant.converse()
Now you should be able to trigger you assistant with your own hotword by running the Snowboy demo.py.
Conclusion
I hope you got some inspiration for further experiments with the Google Assistant. Another interesting point is, for example, to jump straight into your own google voice app.
If you want to know how to build a google voice application, check out my other post here
Thanks for reading through my post. For feedback or questions feel free to contact me.
Leave a Reply
You must be logged in to post a comment.