Me want Deployment Pipeline.
– Cookie Monster

In this blog post we will show you, how to set up your first job using Jenkins CI and Github. We will guide you through every single step of the process – including all rookie mistakes we made. Without further ado, let’s begin.
Setting up a Deployment Pipeline with Jenkins and Github
First we need to install a simple web server. Usually you would use two different instances for your application and your Jenkins. For simplicity, we deploy our application on the same instance where our Jenkins lives. The most common web server these days is Apache.
Therefore we will install the Apache web server, MySQL and PHP software packages. Use the yum install command to install multiple software packages plus all related dependencies at the same time:
sudo yum install -y httpd24 php56 mysql55-server php56-mysqlnd
Start the Apache web server:
sudo service httpd start
Use the chkconfig command to configure the Apache web server to start with every system boot:
sudo chkconfig httpd on
Tip: The chkconfig command does not provide any confirmation message when you successfully enable a service. You can verify that httpd is on by running the following command.
chkconfig --list httpd
Here httpd is running in levels 2, 3, 4, and 5. You should see:
httpd 0:off 1:off 2:on 3:on 4:on 5:on 6:off
If you see the same output in your shell everything worked fine.
Now that we have installed our web server, we can test it! Enter your public DNS address in any browser. You should see the Apache test page. Remember this is the same URL we use for our Jenkins instance only on a different port. Jenkins is running on port 8080. Apache is running by default on port 80.
If you are not able to see the Apache test page, you probably have a problem with your security groups. The security group you specified for your instance should contain a rule to allow HTTP traffic on port 80.
Apache httpd serves files that are kept in the Apache document root. The Amazon Linux Apache document root is /var/www/html, which is by default owned by root.
ls -l /var/www
total 16
drwxr-xr-x 2 root root 4096 Jul 12 01:00 cgi-bin
drwxr-xr-x 3 root root 4096 Aug  7 00:02 error
drwxr-xr-x 2 root root 4096 Jan  6  2012 html
drwxr-xr-x 3 root root 4096 Aug  7 00:02 icons
In the next step we have to set the owner and the group which is allowed to read/write/execute this document root.
First we add a new group named www:
sudo groupadd www
Next we will add our jenkins and our apache user to the www group:
sudo usermod -G www jenkins
sudo usermod -G www apache
Important: You need to log out and log back in to pick up the new group. You can use the exit command or close the terminal window.
exit
Reconnect to your instance as Jenkins user:
su - jenkins
Run the following command to verify your membership in the www group:
groups
Now that our Jenkins user is member of the www group we change the owner of our apache document root. We only want Jenkins and Apache to make changes to this folder:
sudo chown -R jenkins:www /var/www/html
Next we set the permission so that only the owner and the group can read/write/execute content (root always has these permissions):
chmod -R 770 /var/www/html
Now that our web server, permissions and groups are configured we need some version control tool. The most common source control system is git. Install it on your instance by simply running:
yum install git
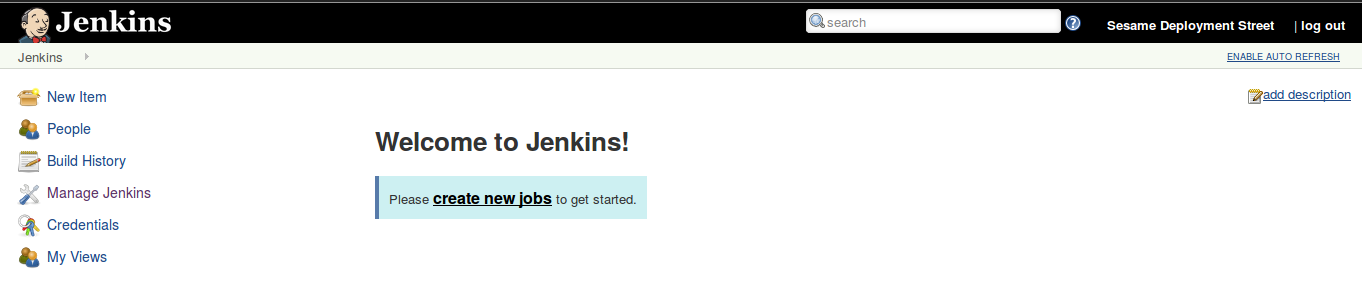
At last all the shell stuff is done (Whoop Whoop!). Please switch to your Jenkins web interface.
Here you will need to install a plugin. To do this, go to Manage Jenkins / Manage Plugins, switch to the tab available and search for the plugin named github Plug-In (see plugin page here). After installing the plugin you need to restart your Jenkins.
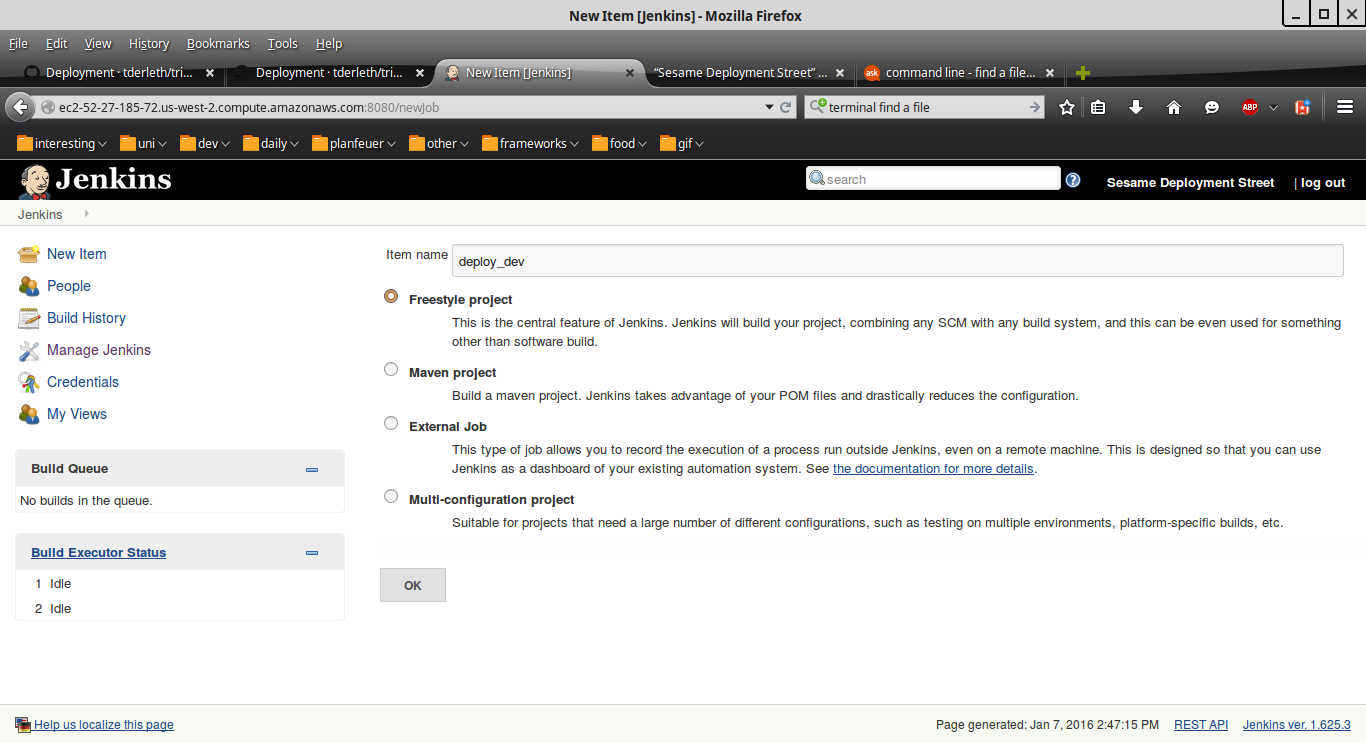
We are now about to create our very first job! Click on the link and you will be able to configure your first project.
We are going to create a freestyle project called deploy_dev_branch, to indicate that this job is for the deployment from our dev branch to the environment. You can think of a much more creative name if you like, but in the boring real world it’s best if the purpose of the job can be guessed from it’s name.
May you should first have a quick look at the repository. As you can see the repository contains a simple Laravel application. It basically just displays a text on a web page. We also created two branches named dev & demo. These branches are based on the branching strategy we illustrated in our previous post.
As the name tells us the dev branch is used for development and is allowed to contain broken code. More important is the demo branch which should contain a running and stable version of your application.
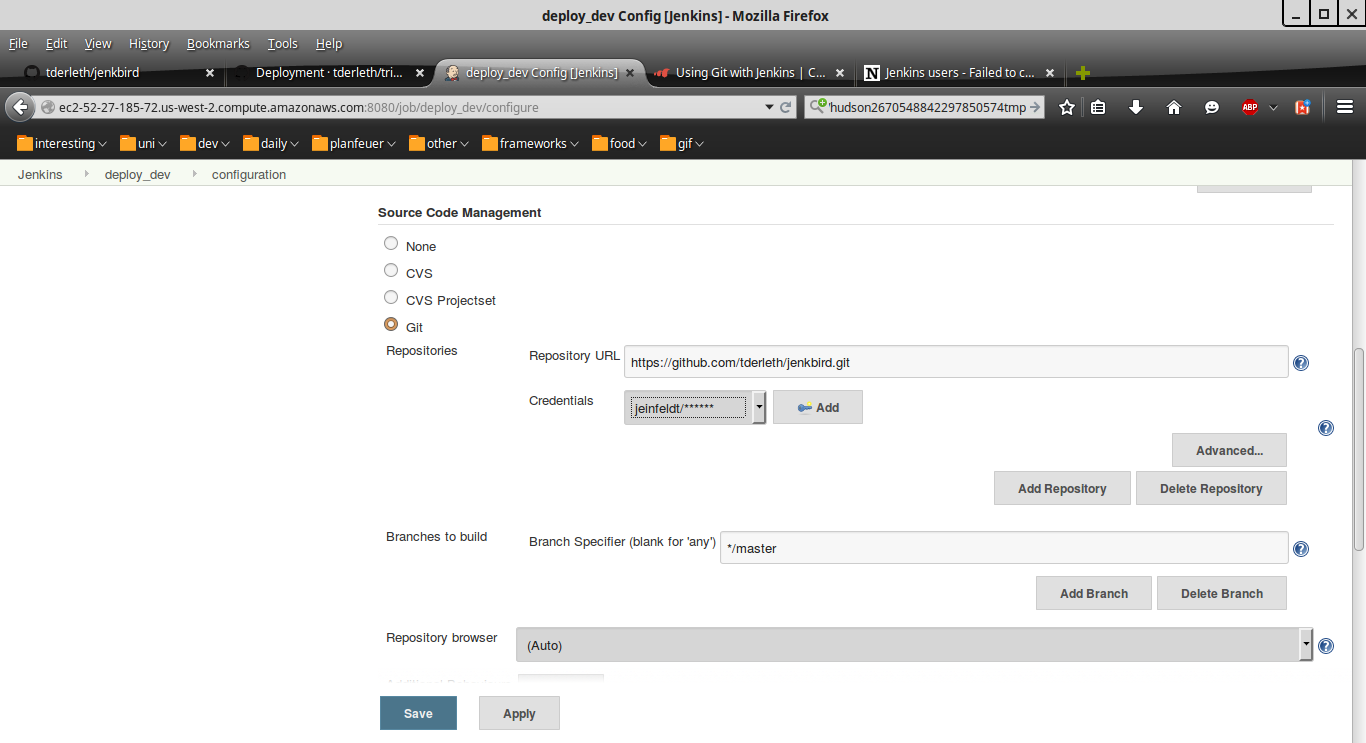
Back to topic: You should see the point Source Code Management somewhere, we are going to use git in this example. Just link to the repository and provide the necessary credentials.
Although we are triggering our jobs manually you should know that there is the possibility to trigger a job automatically after a change in the repository. It is also possible to have jobs run periodically. Now we configure Jenkins to pull the code into the HTML folder. In order to do that, add a new build-step and select run shell command. Insert the following code:
#!/bin/sh
cd /var/www/html/
if [ ! -d /var/www/html/app ]; then
    git clone https://github.com/tderleth/Sesame_Deployment_Street.git .
    git fetch origin
fi
git reset --hard origin/dev
exit
This script is executed when the job is run. First we check if the app folder of our application exists. We haven´t deployed any version of our application yet? Then just clone it directly from Github and fetch all it´s branches. For pulling the application we set our local head to the origin of our dev branch and finally we exit the script. Everything is done and our job is ready to get executed!
You can select your fresh new job on the dashboard and run it manually via Build now. Feels pretty good, doesn’t it? Hopefully the small circle icon is blue, which means the built was successful, if its red, it means you should revisit the configuration of the job. Check the console output of your job, as it contains valuable information regarding the execution of the job.
Now we are going to add another job – namely deploy_demo_branch. We do it the same way we created the first job except that we pull the demo branch. Congrats you’ve now configured two Jenkins jobs! Just let one of them run and check if your application is beeing deployed. You should see it at <public-dns>/public.
What’s coming up in the next episode?
In the next episode we will cover some common approaches for testing and quality assurance. This includes basics about testing and how to set up a simple functional test for our application.
[1] Continuous Integration – Martin Fowler http://www.martinfowler.com/articles/continuousIntegration.html
Blogpost by Thomas Derleth (td036), Jörg Einfeldt (je051), Marc Stauffer (ms445)
Read more about Testing in our Tutorial part 4
Leave a Reply
You must be logged in to post a comment.