As part of the lecture “Software Development for Cloud Computing” we developed a doodle image recognition game. The idea came to us when we were searching for possible mini-games for our semester project “Peers – The Party”, an iOS app using Apple’s MultipeerConnectivity framework.
Many people don’t realize that the story of today’s applied AI is actually a story about the cloud.
Cassie Kozyrkov (Chief Decision Intelligence Engineer, Google) [1]
Goal
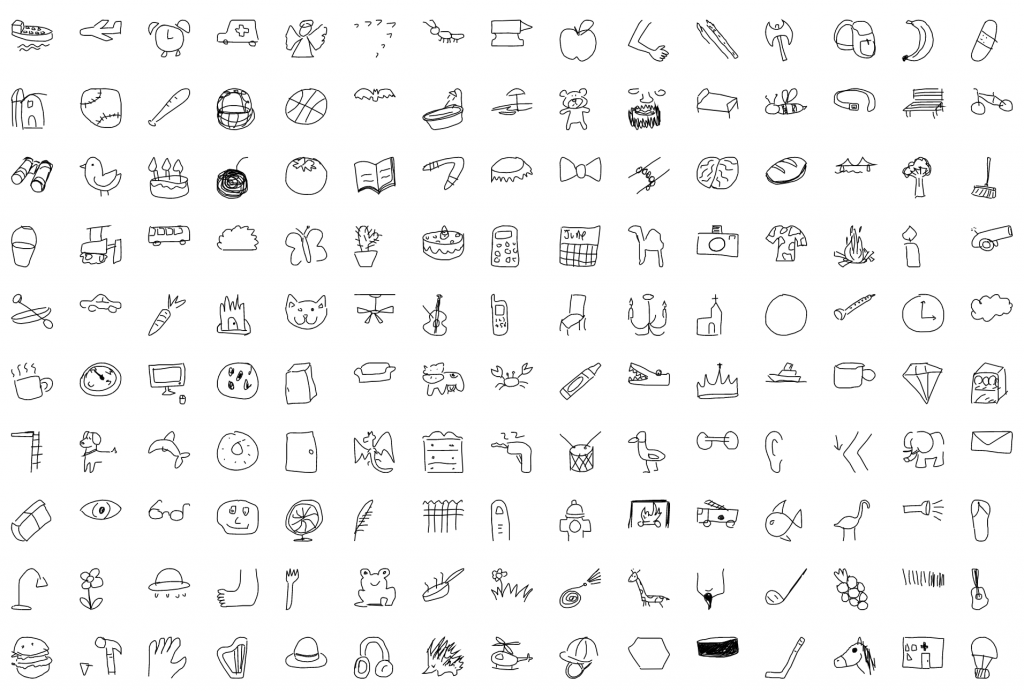
During our research, we found Google’s “Quick, Draw!” [2] which was basically what we wanted to achieve. The game principle is quite simple: The player gets shown a word and has to draw it within a certain time. He wins if the doodle can be recognized by the neural network.
Luckily, Google open-sourced their huge dataset [3] of 50 million doodles that the game is based on. So now it was time for us to think about how to train our own neural network and use it in our game.
Local Machine Learning Setup
As a first step, we wanted to set up a local training environment to later implement the same principle in the cloud.
We started using Google’s TensorFlow, an open-source platform for machine learning, following the tutorial “Recurrent Neural Networks for Drawing Classification” [4]. For easy collaboration, we set up a shared virtual environment using Vagrant based on an Ubuntu image with all needed technologies (especially Python & TensorFlow) installed.
Some things to be aware of that we learned after making many mistakes:
- There are many versions of Python and libraries require different ones. TensorFlow for example might not be compatible with the newest version.
- You will most likely need dependencies. So make yourself familiar with packaging managers (in our case we used both Pip and Conda) and Python environments. They enable you to freeze all your dependencies into a text file requirements.txt which will be important for cloud deployment.
- You might want to include Keras as well. This deep-learning library is fully integrated into TensorFlow and allows you to write less code.
- After installing Python and TensorFlow, we struggled quite some time because we didn’t know that TensorFlow has to be activated in the current environment before it can be imported.
We continued by downloading the doodling dataset and started training our own machine learning model.
Unfortunately, we were all new to machine learning and did not recognize its full complexity in the beginning, thus we quickly came to our limits. Understanding the Python code in detail turned out to be quite difficult for us, as we have never worked with Python before either.
Overcoming these struggles, we did manage to train a model with a tiny portion of the dataset, but came to realize that training the model to achieve a satisfying accuracy would take our computer many weeks.
Taking it to the Cloud
So now was the right time for the Cloud. As Kozyrkov said, AI and cloud often go together since AI has to deal with huge datasets which the cloud is a good counterpart for.
Since TensorFlow is home to Google, we initially thought the Google Cloud [7] would be the best choice for us. We did find quite helpful tutorials for using TensorFlow in combination with Google Cloud, too, which supported our idea.
We were disappointed when this plan turned out to be unrealistic because it would cost us a fortune. We did not find a way to register for an educational Google Cloud account or without entering any credit card information.
As a consequence, we switched to IBM Cloud where we were provided a student account during the lecture “Software Development for Cloud Computing”. Like Google Cloud we liked the good documentation of the IBM Cloud but noticed that the community was understandably smaller which leads to less web results when searching for specific problems. We started implementing our TensorFlow training in Watson Machine Learning using the included tools like the Machine Learning CLI.
Unfortunately, when we wanted to finalize our code and train our model with a chosen part of the dataset, our licence expired. After a long research, we managed to find a pre-trained model [5] trained on 20 of the doodle items – exactly what we needed.

Writing a Cloud Function
The pre-trained model was using PyTorch [6] instead of TensorFlow which gave us the opportunity to gain experience in yet another machine learning library. PyTorch is basically Facebook’s equivalent to TensorFlow, so we did not take too long to get a hang of it. We personally preferred TensorFlow’s documentation and the community seemed bigger but PyTorch is quite common as well.
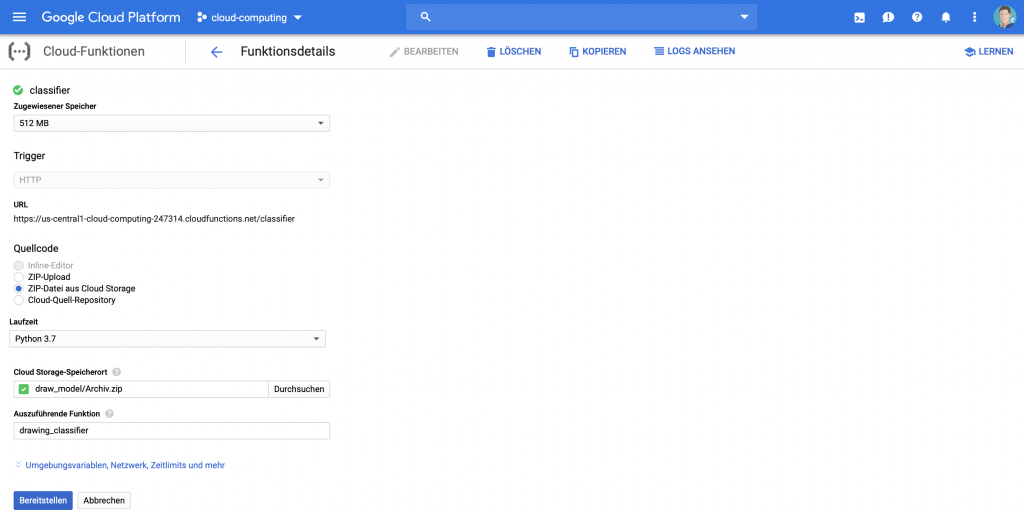
As a first step, we set up everything in the Google Cloud which is quite easy using the Web Interface. We created a cloud function based on Flask. That enabled us to easily process requests and send responses through a REST API.
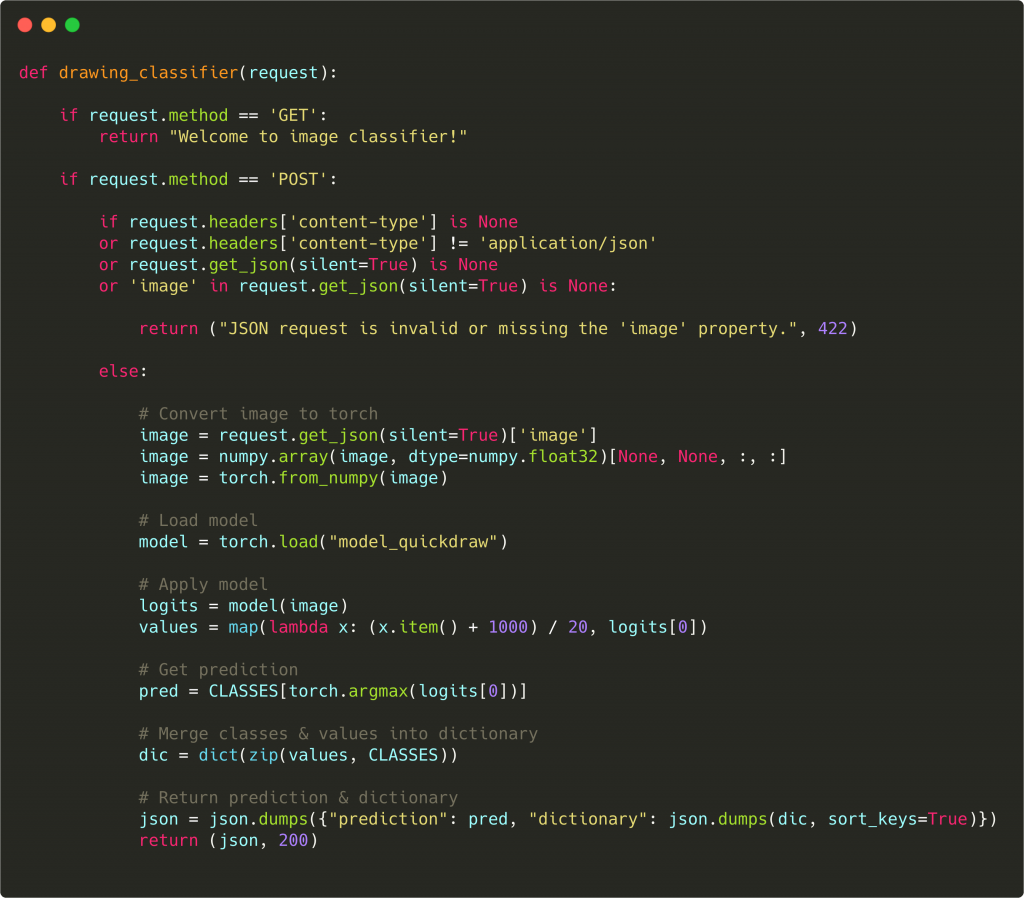
After that, we adapted our local code to fit into this cloud function and added some temporary prints for debugging because we quickly noticed that debugging in the cloud can be very time consuming.
Going one step further
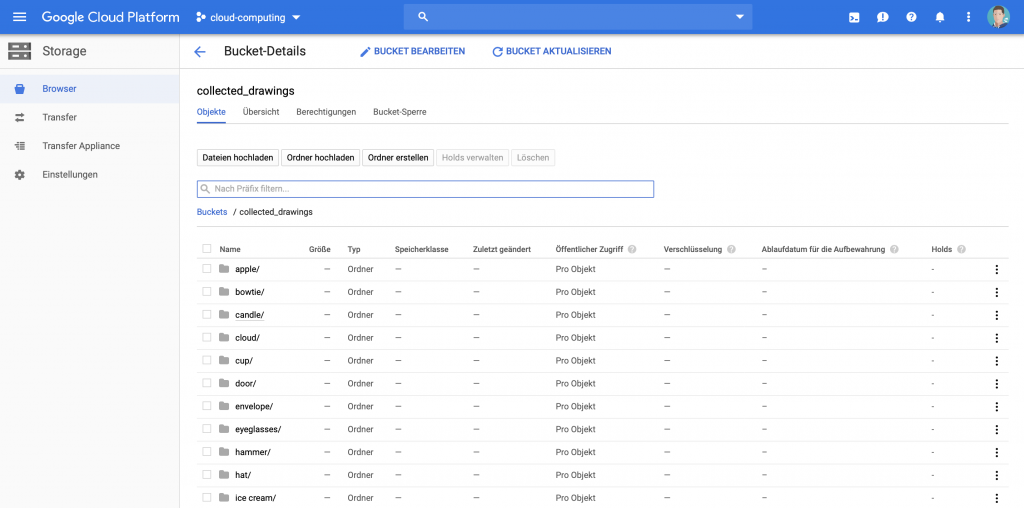
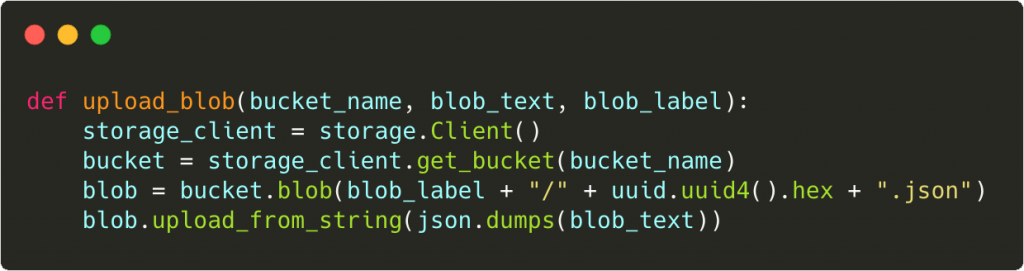
After this was all working, we were thinking about further possibilities the cloud could provide to us. We wanted to try to save the doodle images sent to our cloud function for recognition to be able to use them for improvement of our model in the future. Therefore, we created a Bucket [8] in the Google Cloud and added some code to our cloud function (see below). All in all, we were surprised how easy this modification was. (Of course, using the storage feature in production would require thinking about data privacy/GDPR.)
Making Predictions
The final step was to finally bring the AI functionality to our iOS app which we had been developing in parallel during the semester. Thanks to Google Cloud using Flask, we could send a simple API request and process the response, which in Swift looks about like this:
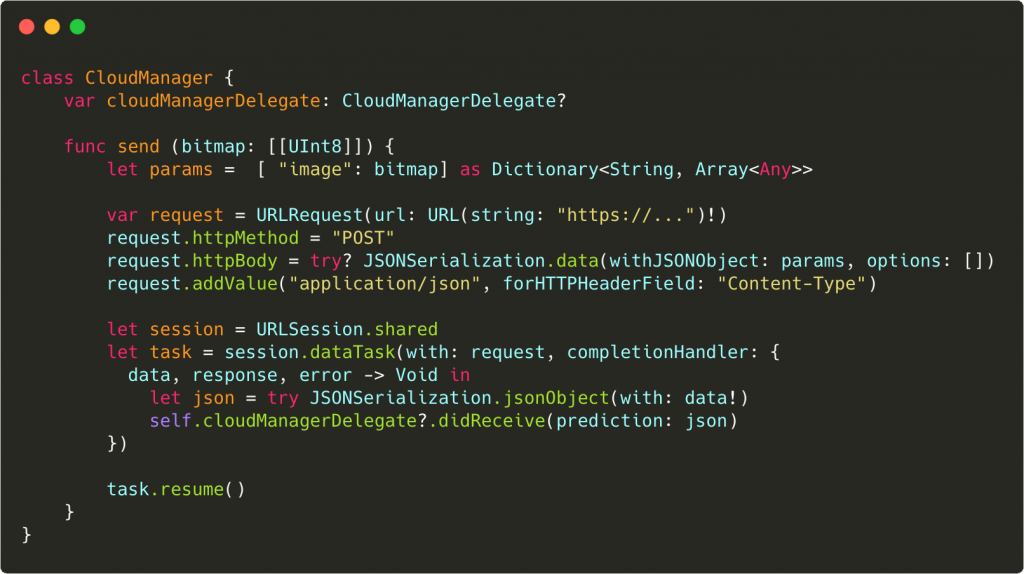
Now, we could play the drawing game on our iPhones and get doodle recognition predictions out of the cloud! For our semester project “Peers” mentioned in the beginning, we later adapted the gameplay to be a multiplayer mini-game but the actual game remained the same.
Conclusion
Looking back on this project, we often struggled with problems that we now consider to be fairly easy. We realized that machine learning is a huge topic itself but we were surprised how quickly we could take our code into the cloud. We are aware, though, that for our specific use case we could as well have made local predictions using the machine learning model – but for us the project was all about learning new technologies.
In conclusion, we will probably think more often about possibilities cloud integrations could give us in future projects while being aware of more difficulties as well. We don’t regret having taken on the topic of AI and cloud as beginners since it was very rewarding and is still relevant. So we encourage everyone who is interested in the topic to do the same.
References and Further Reading
[1] Quote by Cassie Kozyrkov
https://towardsdatascience.com/5-bite-sized-data-science-summaries-a5afb8509353
[2] “Quick, Draw!” Game by Google
https://quickdraw.withgoogle.com/
[3] “Quick, Draw!” Open Source Dataset
https://github.com/googlecreativelab/quickdraw-dataset
[4] TensorFlow Machine Learning Library – Tutorial “Recurrent Neural Networks for Drawing Classification”
https://www.tensorflow.org/tutorials/sequences/recurrent_quickdraw
[5] The Pre-Trained Model we Used
https://github.com/vietnguyen91/QuickDraw
[6] PyTorch Machine Learning Library
https://pytorch.org/get-started/
[7] Google Cloud Functions
https://cloud.google.com/functions/
[8] Google Cloud Buckets
https://cloud.google.com/storage/docs/json_api/v1/buckets
Leave a Reply
You must be logged in to post a comment.