Tag: Docker
- Allgemein, DevOps, Interactive Media, Student Projects, System Designs, System Engineering, Web Performance
Building a Modern C Project: Zig, WebAssembly, and Visual CI/CD
How we used Zig as a build system, Emscripten for the web, and Python for automated visual regression testing on a C-based path tracer. 1. Introduction Writing a path tracer from scratch in C is a fantastic way to learn the physics of light simulation. But maintaining that project, ensuring it builds across platforms, catching…
Morehuehner: Ein Moorhuhn-Remake als Cloud-Native Multiplayer-Browsergame
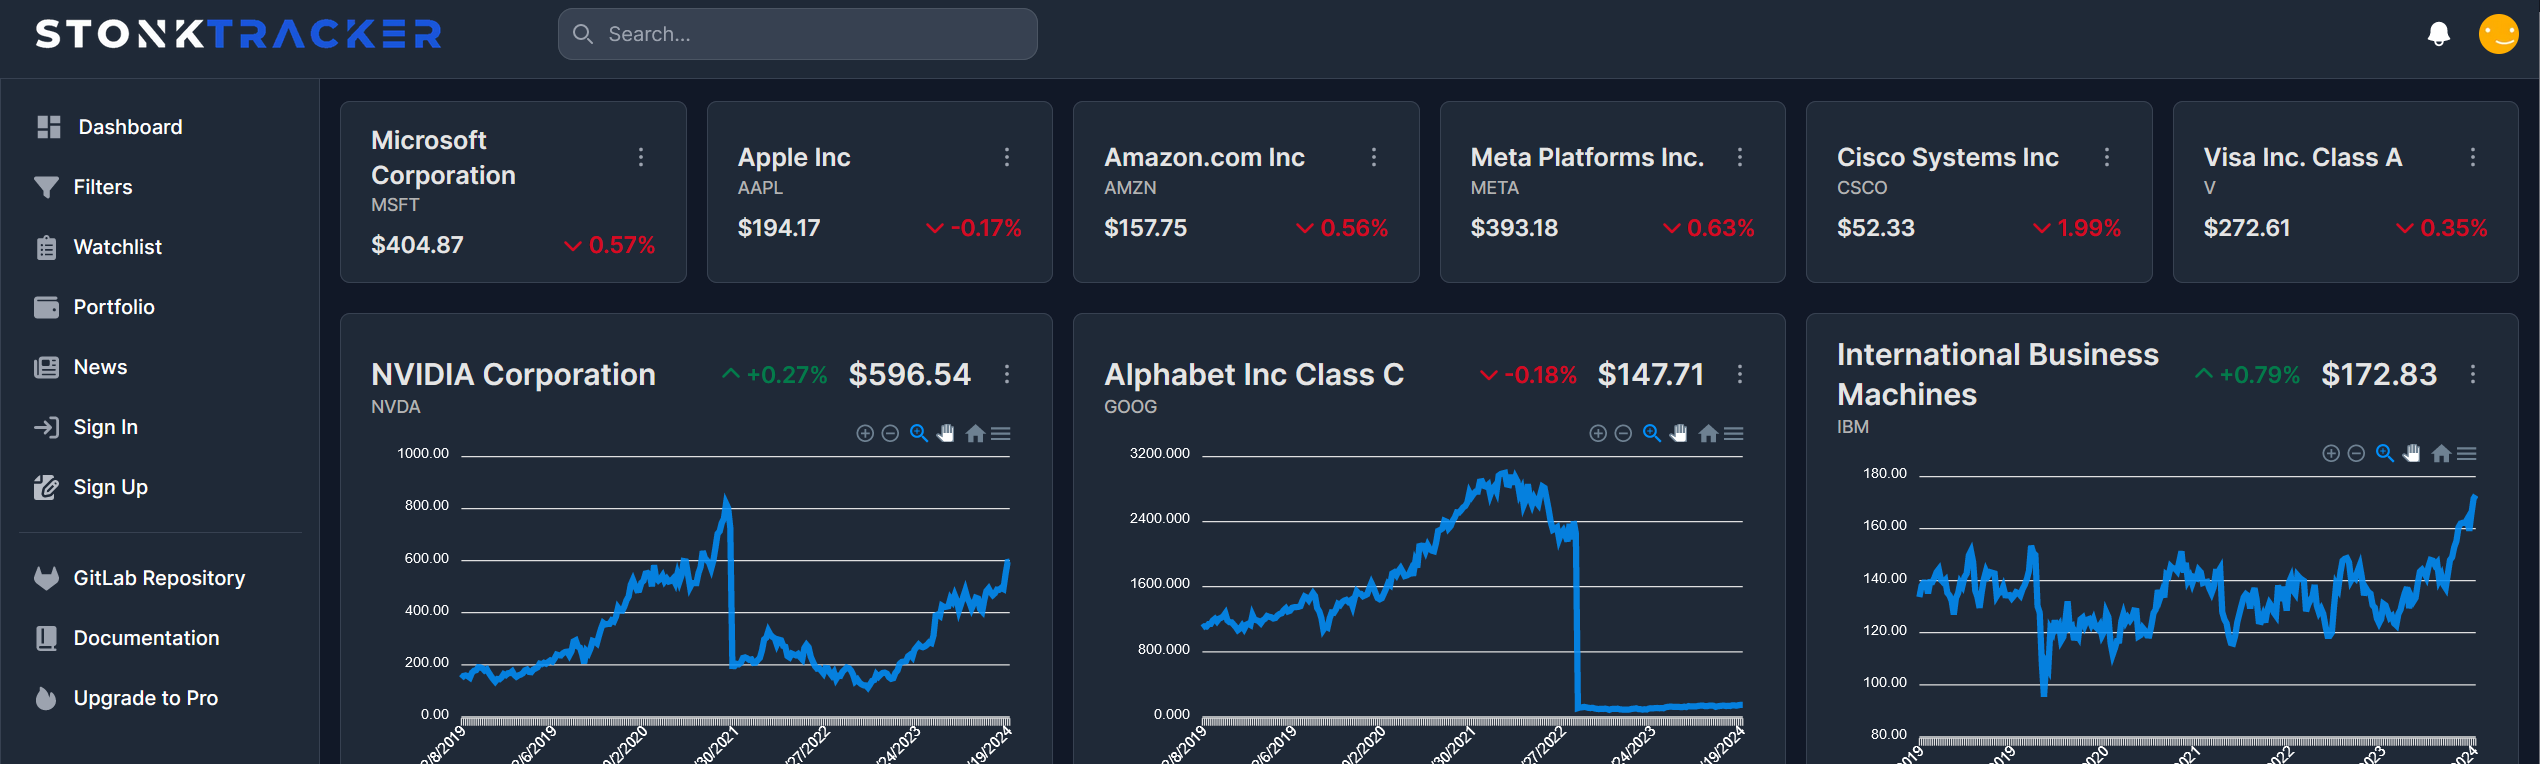
How to Develop a Notification System for Crypto Stocks for Telegram and Discord
This blog post was written for the lecture “System Engineering & Management” (143101a) by Julia Bai, Frederik Runge and Dominik Seitz. Introduction The cryptocurrency market never sleeps. While traditional stock exchanges close, trading in digital assets occurs 24/7, characterized by extreme volatility where minutes decide between profit and loss. A comparable dynamic governs modern software…
Entwicklung einer verteilten Cloud-Anwendung am Beispiel eines Multiplayer Spiels
Einleitung Den meisten sollte das Spielprinzip von “Cookie Clicker” bekannt sein: Ein Klick auf einen Keks erhöht den Spielstand um einen Punkt. Das Spiel ist endlos, hat keine Punktegrenze. Es geht darum, im Leaderboard nach oben zu klettern. Im Rahmen der Vorlesung “System Engineering and Management” (143101a) erweiterten wir das Konzept zu einem Echtzeit-Multiplayer Spiel.…
How to develop an AWS hosted Discord Bot
Introduction This semester, our team set itself the goal of developing a game for a Discord bot. Taking inspiration from Hitster and Nobody’s Perfect, we created Headliner.Over three rounds, players receive meta information about a newspaper article, such as what happened, who was involved, where it happened, and when. Based on this information, each player…
Die technische Entwicklung einer Open-Source-Lösung zur Bildoptimierung
Im Rahmen meines Systems Engineering Projektes habe ich die shuto-api entwickelt – eine in Go geschriebene Open-Source-Bildoptimierungslösung. Mein Ziel war es, eine flexible, self-hostable und erweiterbare API zu erstellen, welche ohne viele Probleme in bereits bestehende Systeme integriert werden kann. Der Service ermöglicht es, Bilder zu komprimieren, zu skalieren sowie weiter zu bearbeiten. Diese sind…
Cloudy mit Aussicht auf Wörter: Unser Weg mit CrowdCloud
Willkommen zu unserem Erfahrungsbericht aus der Vorlesung „System Engineering and Management“. In den letzten Monaten haben wir uns an ein Projekt gewagt, das uns sowohl technisch als auch persönlich herausgefordert hat – CrowdCloud. Anstatt uns in trockene Theorien zu verlieren, möchten wir euch in diesem Blog-Beitrag erzählen, wie aus einer spontanen Idee eine interaktive, skalierbare…
Docker security: Hands-on guide
Absichern von Docker Containern, durch die Nutzung von Best Practices in DockerFiles und Docker Compose. Einführung Es ist sehr wahrscheinlich im Alltag mit containerisierten Anwendungen in Berührung zu kommen, ohne sich dessen bewusst zu sein. In einer Zeit, in der sich der Trend der Unternehmen weiterhin stark in Richtung Cloud bewegt, gewinnen Container immer mehr…
Die Meere der Systemtechnik navigieren: Eine Reise durch die Bereitstellung einer Aktien-Webanwendung in der Cloud
Auf zu neuen Ufern: Einleitung Die Cloud-Computing-Technologie hat die Art und Weise, wie Unternehmen Anwendungen entwickeln, bereitstellen und skalieren, revolutioniert. In diesem Beitrag, der im Rahmen der Vorlesung “143101a System Engineering und Management” entstanden ist, werden wir uns darauf konzentrieren, wie eine bereits bestehende Webanwendung zur Visualisierung und Filterung von Aktienkennzahlen auf der IBM Cloud-Infrastruktur…
- Allgemein, Student Projects, System Architecture, System Designs, System Engineering, Teaching and Learning
Using Keycloak as IAM for our hosting provider service
Discover how Keycloak can revolutionize your IAM strategy and propel your projects to new heights of security and efficiency.
You must be logged in to post a comment.